Painting over stained wood can be a daunting process since there quite a few steps to go through to ensure you do the best possible job — and stay safe in the process. However, if you follow the right method and prepare ahead of time, you’ll have a great finish in no time.
To paint over stained wood, you’ll have to clean the surface, sand it, and apply a primer before you start. Then, use an oil- or latex-based paint, depending on the purpose of the wood and where it’ll be placed. Make sure you use a protective finish and leave plenty of time between coats.
Let’s take a closer look at the best way to paint over stained wood, including a step-by-step guide and the advantages and disadvantages of using different kinds of primer and paint for the job.
How to Paint Stained Wood
If you’re looking to paint stained wood, these are the steps you need to follow:
Step 1: Sand the Wood
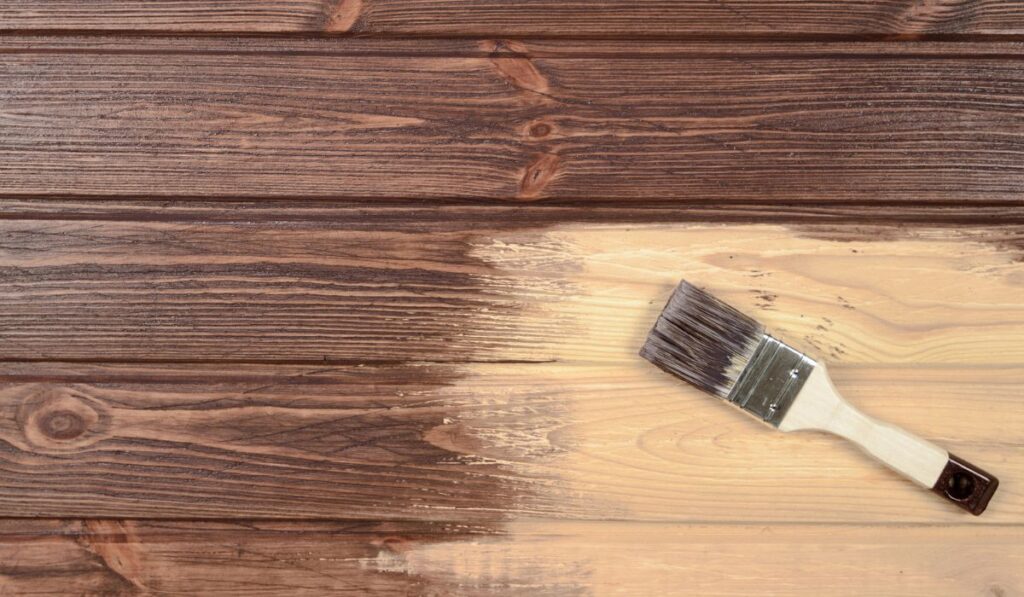
The first thing you need to do is sand the wood with 150-grit sandpaper (on Amazon). This doesn’t need to be anything too intense, as you don’t want to entirely strip away the surface, but there needs to be something for the paint to grab onto.
The surface should be pretty rough to the touch when you’re done sanding.
Step 2: Wipe Down the Wood
The next thing to do is to get a tack cloth (on Amazon) and firmly wipe down the wood. While many people skip this step or use a paper towel or regular cloth, that won’t do.
The point of wiping down the wood is to get rid of any residue from the sandpaper, and this is crucial to achieving the best possible finish.
Step 3: Add a Primer
Take a foam roller and brush (on Amazon) and spread an oil-based primer over the wood. A water-based primer may also work, but oil-based primers are best at protecting the wood when you work on it.
You should then take a towel and wipe down the wood once it’s primed.
Step 4: Paint the Wood
Now that you’ve done all of the prep work, it’s time to paint the wood. You’ll have to do many coats — at least six is preferred, though you can eye the paint and make a decision every time you do a coat.
You should allow around eight hours of drying time to ensure you get a clear picture before you move on to the next coat, and to ensure the last one is completely set.
Step 5: Apply a Finish
The last thing you’ll want to do is apply a finish (on Amazon). Make sure it’s a protective finish that’s appropriate for wood. Don’t skip this step if you want your precious work to last!
How Do You Prepare Stained Wood for Painting?
Before you begin the steps of sanding and adding primer, you’ll want to clean the wood to ensure you get rid of all dirt and debris. You can scrub the wood with soapy water. Make sure you’ve gotten rid of everything before you go ahead and sand it, as you don’t want to trap anything under the primer.
What Kind Of Paint Should You Use On Stained Wood?

There are two good options for painting over stained wood: latex-based and oil-based. The one that’s best for you depends on the job you’re doing.
Latex-based paint doesn’t have an odor, so it’s best for indoor jobs. If you’re painting kitchen cabinets, a dining table, or something else in the house, then latex-based paint will be the least odorous and should provide sufficient protection since the wood won’t typically be exposed to the elements.
Oil-based paint is better for the outdoors. It provides the best protection — so if you’re painting, for example, a deck where lots of people will be walking, you’ll want to ensure it’s not going to wear down quickly.
Other Differences Between Oil and Latex-Based Paint
One advantage of oil-based paint is that it covers surfaces better. You may need fewer coats of oil-based paint than latex-based paint, and it will cover the stains better. It also provides better adhesion, so if you haven’t sanded the wood very well or you’re worried you didn’t clean it very well, then oil-based paint may be the way to go.
Oil-based paint is also moisture-resistant, which is another reason it’s great for the outdoors. The weather won’t affect this paint over time.
Latex-based paint, however, has its own advantages. It dries very quickly — so that’s something to consider if you can’t leave the wood alone for very long.
It also doesn’t yellow over time, which is another reason it looks better in the house. Oil-based paint can start to change color as time goes on, which isn’t great for particular aesthetics (especially indoors).
Can You Paint Over Stained Wood Without Sanding?
Painting over stained wood without sanding it first isn’t a good idea. If the wood isn’t sanded, the paint won’t have a good surface to cling to, and that means the stains may show through or that the coats applied turn out uneven. This is especially true if you’re not using oil-based paint, which is the more forgiving option.
There are many people who say you can indeed paint without sanding, but you’re looking at a lot of disadvantages.
You can, however, use a liquid sander, which is much easier than grinding away with sandpaper.
Tips for Using a Liquid Sander
When using a liquid sander (on Amazon), you should make sure to follow all instructions on the bottle, as it’s a chemical that can be dangerous. Protect your eyes and hands with safety equipment, first of all.
You should also make sure you prep the surface by cleaning it just as you would if using regular sandpaper.
Advantages of Using a Liquid Sander
There are many advantages to using a liquid sander, including:
- It’s faster
- It’s easier to use
- It doesn’t produce dust
- It can be less messy
It can also take more prep time, however, since safety concerns need to be considered.
At the end of the day, it’s not difficult to do a good job of painting over stained wood. You just need to make sure that you prep a good surface by cleaning and sanding the wood, and that you user the right kind of primer and paint for the job.