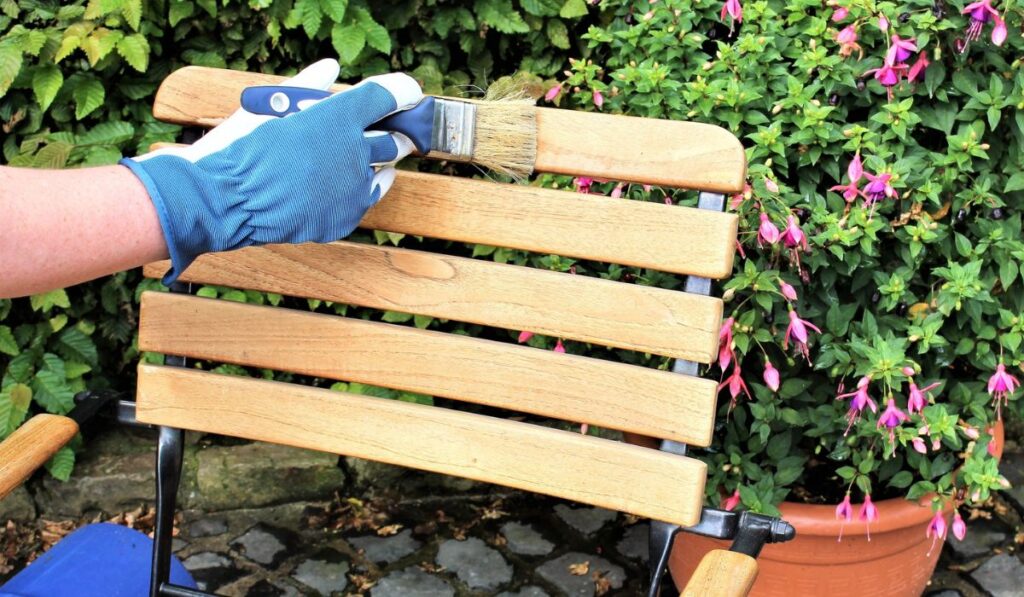
Applying a clear coating over wood is called wood sealing, and it’s an important part of the process when finishing furniture. This clear coat protects the piece from damage and the elements, and it often makes the finish look much nicer. If you’re intimidated by the idea of the process and aren’t sure where to start, here’s what you need to know.
All types of wood can be sealed, but make sure you’re using the right sealant. Polyurethane, shellac, and lacquer are all used very differently and require various levels of experience to apply. Prep your workspace well, wear protective gear, and allow the sealant to dry before touching the wood.
Let’s take a closer look at how to make your furniture last longer by sealing the wood. We’ll also take a look at the best products and how to use them.
What Is Wood Sealing?
Wood sealing is basically applying a clear coat over wood to protect it from damage. It’s often ideal for furniture that gets a lot of wear-and-tear, or for decks and outdoor furniture that may be exposed to the elements on a regular basis.
Although the primary purpose of sealing wood is to protect it from damage, it can also be used to give the wood a glossier and more aesthetically-appealing look.
Can All Wood Types Be Sealed?
For the most part, all wood types can be sealed, although you have to be careful with the type of sealant you’re using.
Oil-based sealants, for example, don’t work well with exotic woods. This is because exotic woods don’t cause the same type of chemical reaction as other wood types, so the oil-based sealant doesn’t really do its job as it should.
So, as long as you research the product you’re using ahead of time, then yes, all wood can be sealed.
Which Products Are Best for Sealing Wood?
There are a few different kinds of sealant you can use on wood. Let’s go through the options:
Polyurethane Sealant
Polyurethane wood finish (on Amazon) is the easiest sealant to use and the best for beginners. It’s low in toxicity and doesn’t have an odor, making it great for indoor furniture such as chairs and bookshelves.
However, it doesn’t do well when exposed to the elements, so if your furniture is ever going to be outside then you may want to pick a different type of sealant.
Shellac
Shellac (on Amazon) is a natural product used to finish wood, but it’s only good for certain furniture. Because it reacts to heat and can produce chemicals, it’s not great for places where you might be serving food — like the dining room table.
Instead, shellac should be used for decorative furniture that won’t be exposed to high temperatures.
Lacquer
Lacquer is the hardest sealant to use and it’ll take practice to get it right — but if you’re experienced, lacquer is great as long as you get the right product — like this one (on Amazon).
Lacquer gives a very smooth finish, and it’s very durable, making it aesthetically pleasing and able to stand up to different temperatures and moisture. People often use lacquer on outdoor furniture.
What to Consider When Choosing a Sealant
These are the most important factors to consider when choosing between the different sealant options:
- What kind of furniture it is
- Where the piece will be kept
- Whether it will be exposed to heat or inclement weather
- What kind of finish you want
- How experienced you are with the sealant type
Once you have your answers, you can narrow it down and look for an ideal product with great reviews.
How to Seal Wood
Now that you understand what sealing wood is and the different options available, it’s time to look at a step-by-step guide for how to seal wood.
Preparation: Smoothing and Staining
The first thing you’ll want to do is sand the wood down using sandpaper (on Amazon). You can also use an electric sander. The goal is to get rid of any extreme roughness or imperfections, creating a smooth surface for the substances to attach to.
Even if the wood already feels perfectly smooth and you think you can skip this step, it’s best to go ahead and sand your wood anyway. This will ensure you get rid of those imperfections you may otherwise miss by just glancing at it.
It’s also a good idea to wear a mask (on Amazon) while sanding, as wood particles will float into the air and you could inhale them. Safety goggles (on Amazon) are also a good idea.
To remove the sawdust that’s come away from the wood, you should wipe it down with a cloth or even use a vacuum. Don’t use liquid cleaning products.
A tack cloth (on Amazon) is ideal, as it’s specifically designed to brush away the sawdust particles from wood.
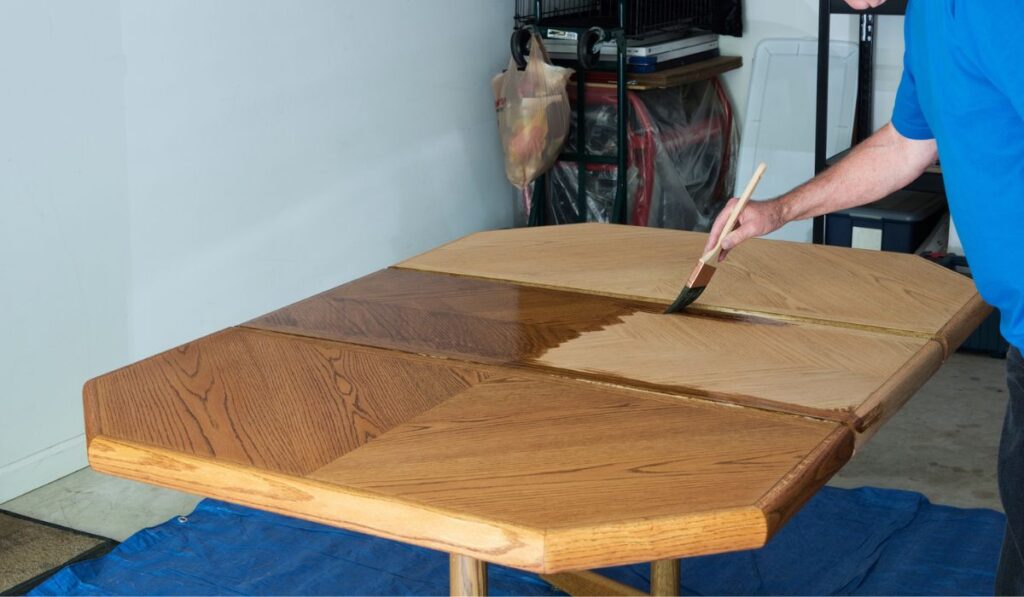
If required, you should then use your wood stain on the wood. Stain is made to change the color or highlight/darken the wood, so make sure you’re aware of what you want to do and read the instructions on the product. The product should also tell you how to apply it.
Now that you’ve done this, it’s time to seal the wood. The next steps vary depending on the sealant you’ve selected.
Sealing With Shellac
Shellac isn’t great for outdoor wood, since it can’t withstand rain and water, so make sure to only choose this option for indoor furniture.
You can apply shellac in straight lines using a rag. You need to ensure to keep each part wet as you move onto the next one — it’s fast-drying, so moving quickly is key.
Shellac smells very strong and can be over-powering, so make sure you wear a respirator and if possible, allow good airflow through the room. Don’t touch the shellac while it’s drying, as this can ruin the finish — and you don’t want this stuff on your hands.
Sealing With Polyurethane
As with shellac, you should apply polyurethane with a rag. It’s a little easier to work with because it’s self-leveling, so you should be able to put it on there fairly roughly (though still take some care) and then wait for one coat to dry before you put on another.
The main thing you need to remember with polyurethane is that you should sand between coats. Rub the sandpaper lightly over the coat to get rid of any imperfections before proceeding.
Sealing With Lacquer
Because lacquer is one of the harder sealants to use, you should only turn to this option if you have experience. If you don’t, one of the other methods will probably be best for you.
You should apply lacquer in thin coats using a spray gun and wait until they’re completely dry before doing another. Around four coats total should do it. Also make sure to pay attention to the instructions on your specific product.
Sealing Finished Wood vs. Unfinished Wood
You should always completely finish your wood, which includes using a sealant. Leaving furniture unfinished means it’s prone to cracks and breakages, whereas finishing it gets rid of these possibilities. You can seal unfinished wood, but it may not look as nice as it would if you used a stain first.
Overall, the main thing to remember when sealing wood is to use the right products, the right sealant, and the right method. Sealants work very differently depending on what they’re made of, and some work better for outdoors, some for indoors.